How to Set Up and Use Grid Trading Bots on Binance and OKX
Learn how spot grid bots work, then set up and manage one on Binance or OKX with beginner-friendly parameters, risk checks, and exit steps.
A grid trading bot can place a series of buy and sell orders for you, but it cannot tell whether your chosen price range still makes sense. The safest way to approach Binance or OKX grid trading is to treat the bot as an execution tool for a defined plan, not as an automatic profit machine. This guide explains the terms, walks through a beginner setup on both exchanges, and shows what to check before, during, and after a bot runs.
Update note: This guide was checked against the official Binance and OKX help pages on September 16, 2026. Exchange menus, product availability, limits, and rules can vary by jurisdiction, account, device, and later platform updates. Read the confirmation screen in your own account before creating a bot.
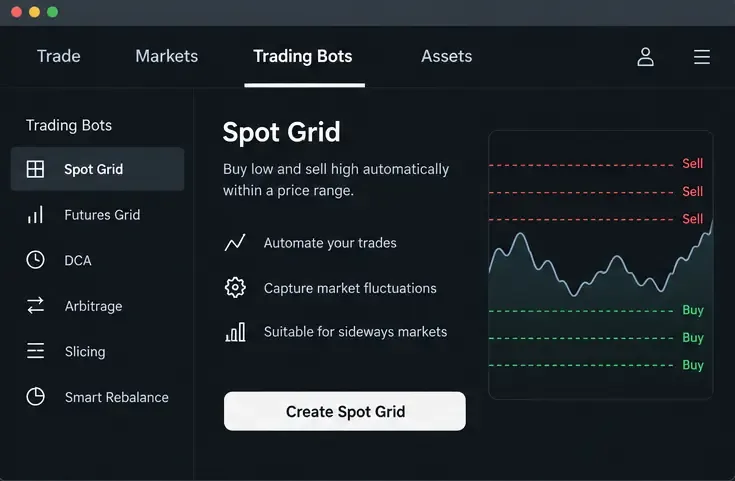
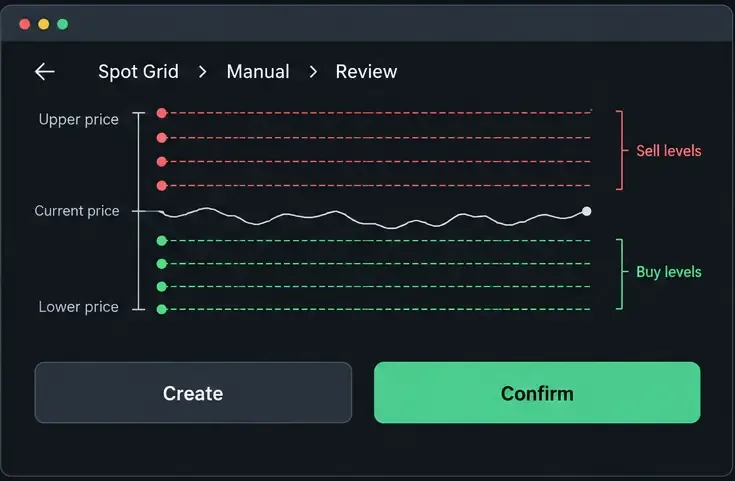
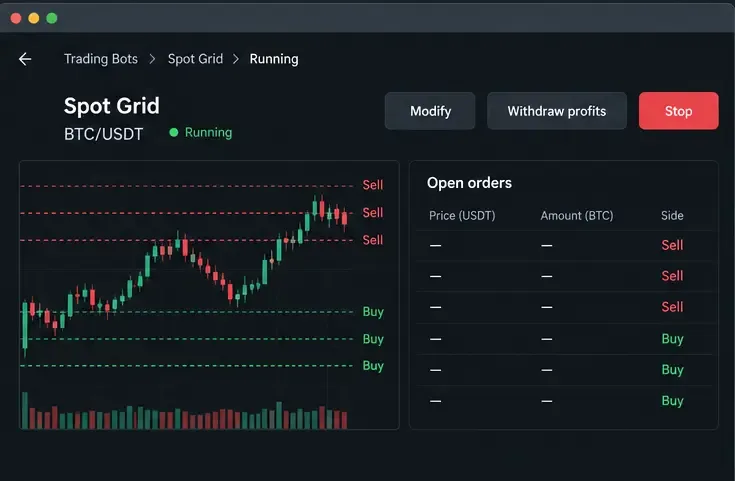
A grid is a set of price levels inside a lower and upper boundary. A spot grid bot uses the spot market, meaning it buys and sells the actual asset rather than opening a leveraged futures position. When price moves down to a level, the bot may buy; when price moves up to the next level, it may sell. After a fill, the bot places a new order at the paired level so the cycle can continue.
Both exchanges describe spot grid trading as an attempt to buy lower and sell higher within a chosen range. That design is most naturally suited to a market that fluctuates inside a range. In a strong downtrend, buys can fill while the asset keeps falling. In a strong uptrend, sells can fill and the bot can stop adding orders above its upper boundary. Neither exchange guarantees that a bot will make money.
| Term | Plain-English meaning | Why it matters |
|---|---|---|
| Lower price | The bottom of the range. | The bot generally stops placing new grid orders below this boundary. |
| Upper price | The top of the range. | The bot generally stops placing new grid orders above this boundary. |
| Grid quantity | How many intervals divide the range. | More grids usually mean smaller, more frequent orders; fewer grids mean larger, less frequent orders. |
| Arithmetic | Grid levels are separated by a similar absolute price amount. | Useful when equal dollar or USDT gaps are the way you want to map the range. |
| Geometric | Grid levels are separated by a similar percentage or ratio. | Useful when percentage movement matters more than equal dollar gaps. |
| Investment amount | The funds assigned to the bot. | A small allocation makes testing easier and limits the capital exposed to the strategy. |
The gross difference between two grid levels is not the same as net profit. Each completed cycle can be reduced by trading fees, spread, slippage, and any conversion or withdrawal costs relevant to your account. Check the current Binance trading fee schedule or OKX fee page instead of relying on a fee number from an old tutorial.
Illustrative example only—not a backtest, trade, or testimonial: imagine that Jordan is studying the hypothetical BTC/USDT range from 90,000 to 100,000. Jordan chooses 10 arithmetic grids and assigns 500 USDT, knowing that a narrow grid may produce more fills but leaves less room for fees and slippage. Jordan writes down a review rule: if BTC closes and remains below 90,000, pause and reassess rather than assuming the bot will recover.
This example does not predict BTC’s next move and does not show a guaranteed return. It demonstrates the order of thought: select a market, define a range based on your own analysis, select a grid structure, size the allocation, then define what invalidates the plan.
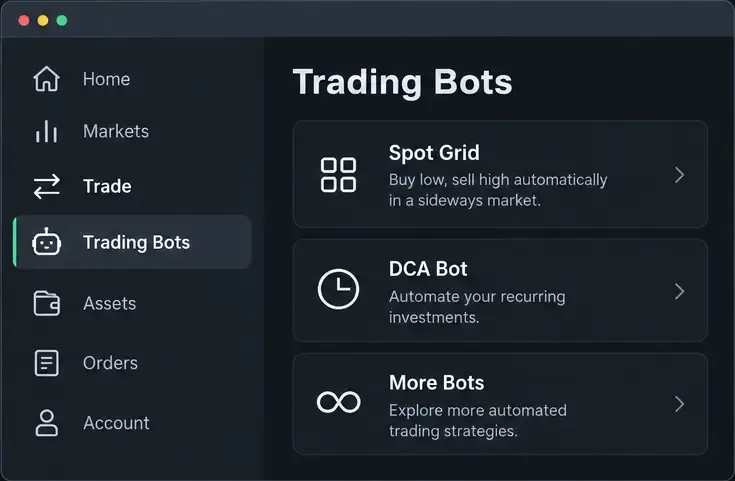
On the Binance website, log in and go to Trade, then Trading Bots, and choose Spot Grid. Binance’s current guide also documents an app path: Trade, Bots, then Spot Grid. Binance states that spot grid trading uses a Trading Bots Account separate from the ordinary Spot Account, so read the transfer or funding prompt carefully before confirming.
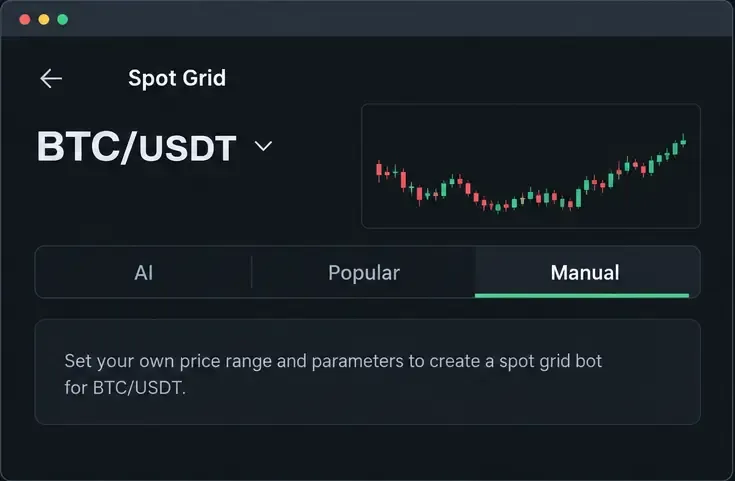
Choose the pair you have researched, such as BTC/USDT, if it is supported for your account. Binance presents AI, Popular, and Manual options. AI can generate parameters from historical market information and a selected period; Popular lets you review shared strategies; Manual lets you set or edit the range and grid structure yourself. Treat AI and Popular values as starting points for review, not as recommendations that guarantee the displayed performance.
For a manual setup, enter the lower price, upper price, grid quantity, spacing mode, and investment amount. Binance documents arithmetic and geometric modes. Check that the lower price is below the upper price, the current price is meaningfully positioned inside the range, and the investment satisfies the pair’s minimum order requirements.
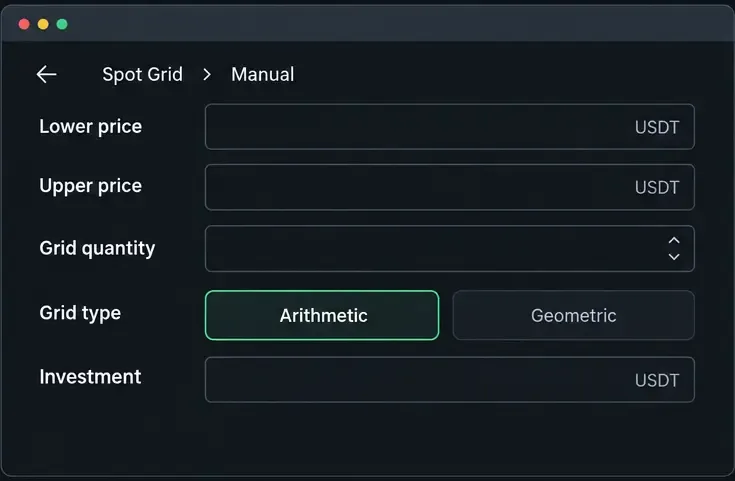
Depending on the product version and market, Binance may show optional trigger, stop-loss, take-profit, or trailing controls. Do not enable a setting merely because it is available. Read what happens to the remaining base and quote assets if a stop or target is reached. Then review the estimated order distribution, required balance, and any warning before selecting Create or confirming the order.
Use the Binance running-bot area to check filled orders, current inventory, grid profit, total profit and loss, and the distance from the current price to the boundaries. Grid profit from completed buy-sell pairs can look positive while the value of the remaining asset inventory is falling. If your range is no longer valid, stop or adjust the bot according to the controls shown in your account. Binance also documents a profit-withdrawal function for eligible running spot grids; the available amount can be limited because funds must remain reserved for the bot.
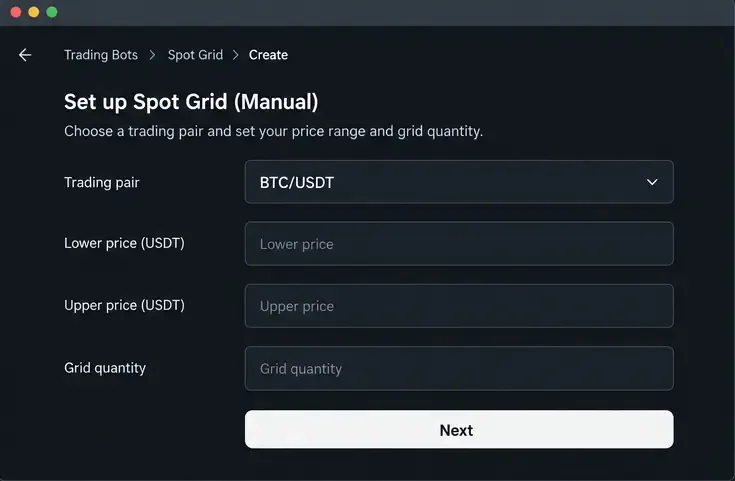
On OKX, open Trade, choose Trading Bots, and select Spot Grid. The names and placement can differ between the website and app, so use the product shown in your logged-in account. OKX’s manual setup guide, updated August 27, 2026, describes entering the upper and lower bounds, grid count, and total amount before choosing Create.
Select the trading pair, then enter the lower price, upper price, and grid quantity. OKX describes arithmetic spacing as fixed price intervals and geometric spacing as percentage-based intervals. More grids can create smaller trades more often, but the expected difference per cycle must still cover fees and execution friction.
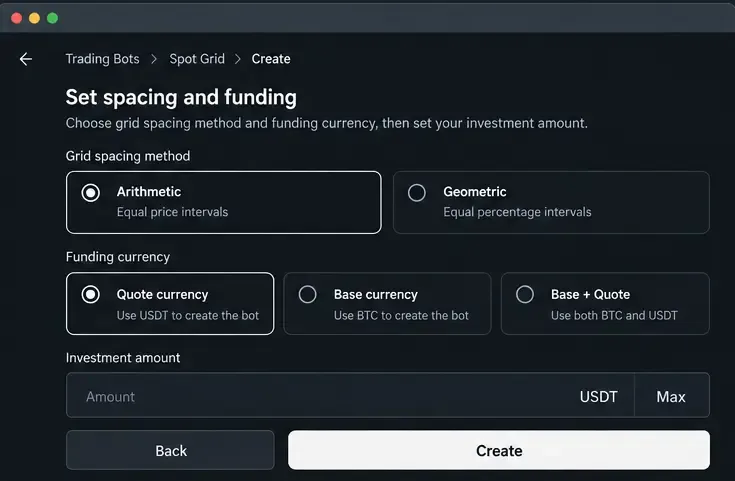
OKX documents three spot-grid investment choices: quote currency, base currency, or a combination of base and quote currencies. For BTC/USDT, quote currency is USDT and base currency is BTC. The initial order layout can differ depending on the choice; some orders may be filled during initialization if the market is already near a grid level.
OKX also documents optional take-profit and stop-loss settings, as well as trailing and advanced features that may appear for eligible users. Understand whether a stop sells the base asset at market and whether pending orders are canceled. Confirm the amount, estimated order size, and all warnings before deployment.
OKX says running bots can be viewed from the bot dashboard, where users may see open orders and trade history. Its current help material also describes modifying parameters, withdrawing profits, and stopping a bot. When a bot is stopped, pending orders are canceled; the exact treatment of held assets depends on the selected stop action and the interface presented to you.
Before pressing the final confirmation button, ask: Is this a spot bot? Is the pair liquid enough for my plan? Is the current price inside the selected range? Is the grid spacing wide enough to leave room after fees? What happens if price breaks below the lower boundary? Which assets will I hold if I stop? How much capital is exposed, and when will I review it? If you cannot answer those questions, pause the setup.
For Binance’s current creation flow, see How to Create a Spot Grid Trading Strategy on Binance, What Is Spot Grid Trading and How Does It Work?, and Binance’s profit-withdrawal instructions. For OKX, see How to manually set up spot grid trading bots and the OKX Spot Grid Bot FAQ. These are product documents, not financial advice. Features and eligibility can change, and past bot performance does not establish future results.
Learn how spot grid bots work, then set up and manage one on Binance or OKX with beginner-friendly parameters, risk checks, and exit steps.
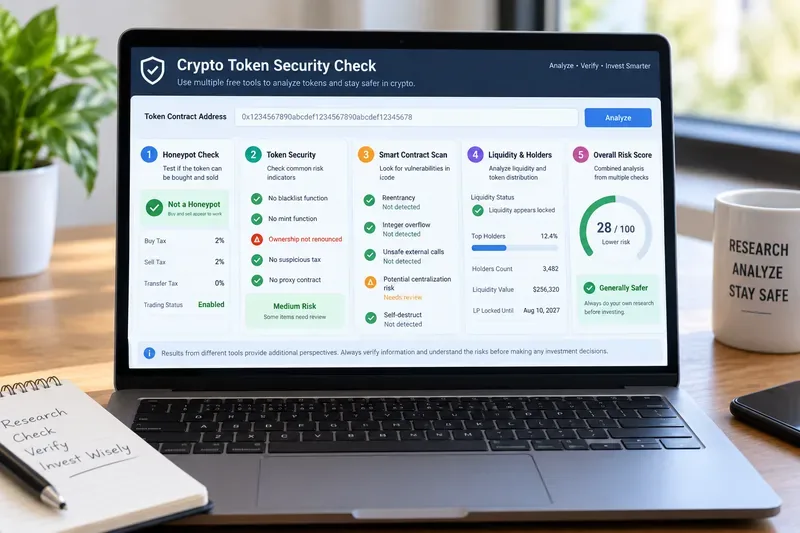
Compare five free crypto token scanners for honeypots, scam signals, smart-contract vulnerabilities, holder risks, and token security before you trade.
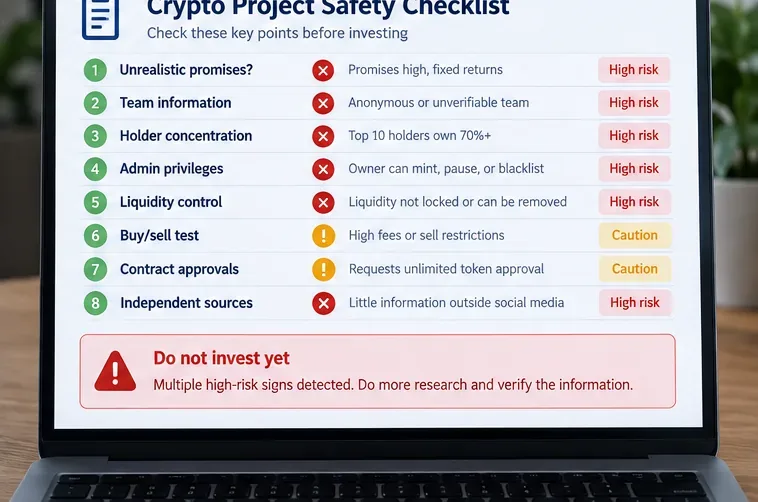
Learn how to spot crypto rug-pull warning signs before buying: hype, team transparency, holder concentration, admin powers, liquidity, sell restrictions, and wallet approvals.
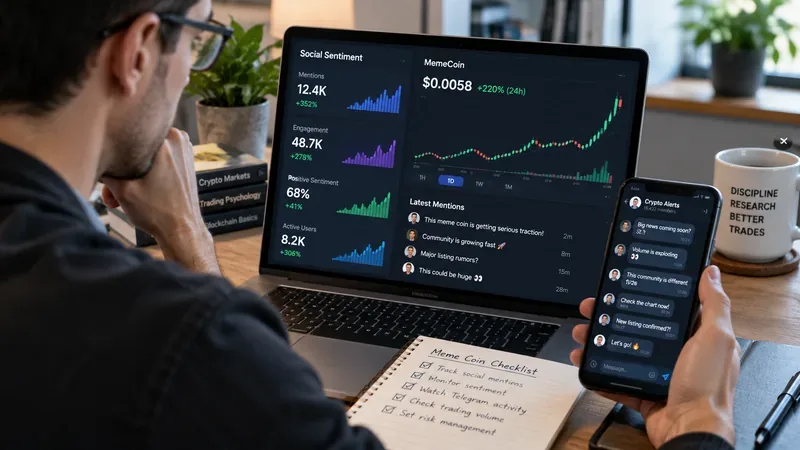
Learn how X (Twitter) and Telegram can amplify meme coin momentum, which social signals matter, how to spot coordinated hype, and how to avoid pump-and-dump traps.
Learn how Coinbase Advanced Trade works in 2026, from choosing a market and reading the order book to placing market, limit, stop-limit, and bracket orders.
Compare crypto day trading and swing trading by time, risk, costs, leverage, and discipline to choose a strategy that fits your schedule.
Learn how to screen low-cap crypto projects using market cap, FDV, liquidity, tokenomics, unlocks, contract permissions, catalysts, and risk controls.
Learn how crypto bridges move assets across blockchains, how to compare routes, verify tokens, manage gas and approvals, and reduce common bridging risks.
Learn how to place stop-loss and take-profit orders around trade invalidation, position size, volatility, and execution risk instead of relying on arbitrary percentages.
Learn how to stake crypto on Kraken, compare Flexible and Bonded staking, understand rewards and commissions, and avoid common staking mistakes.